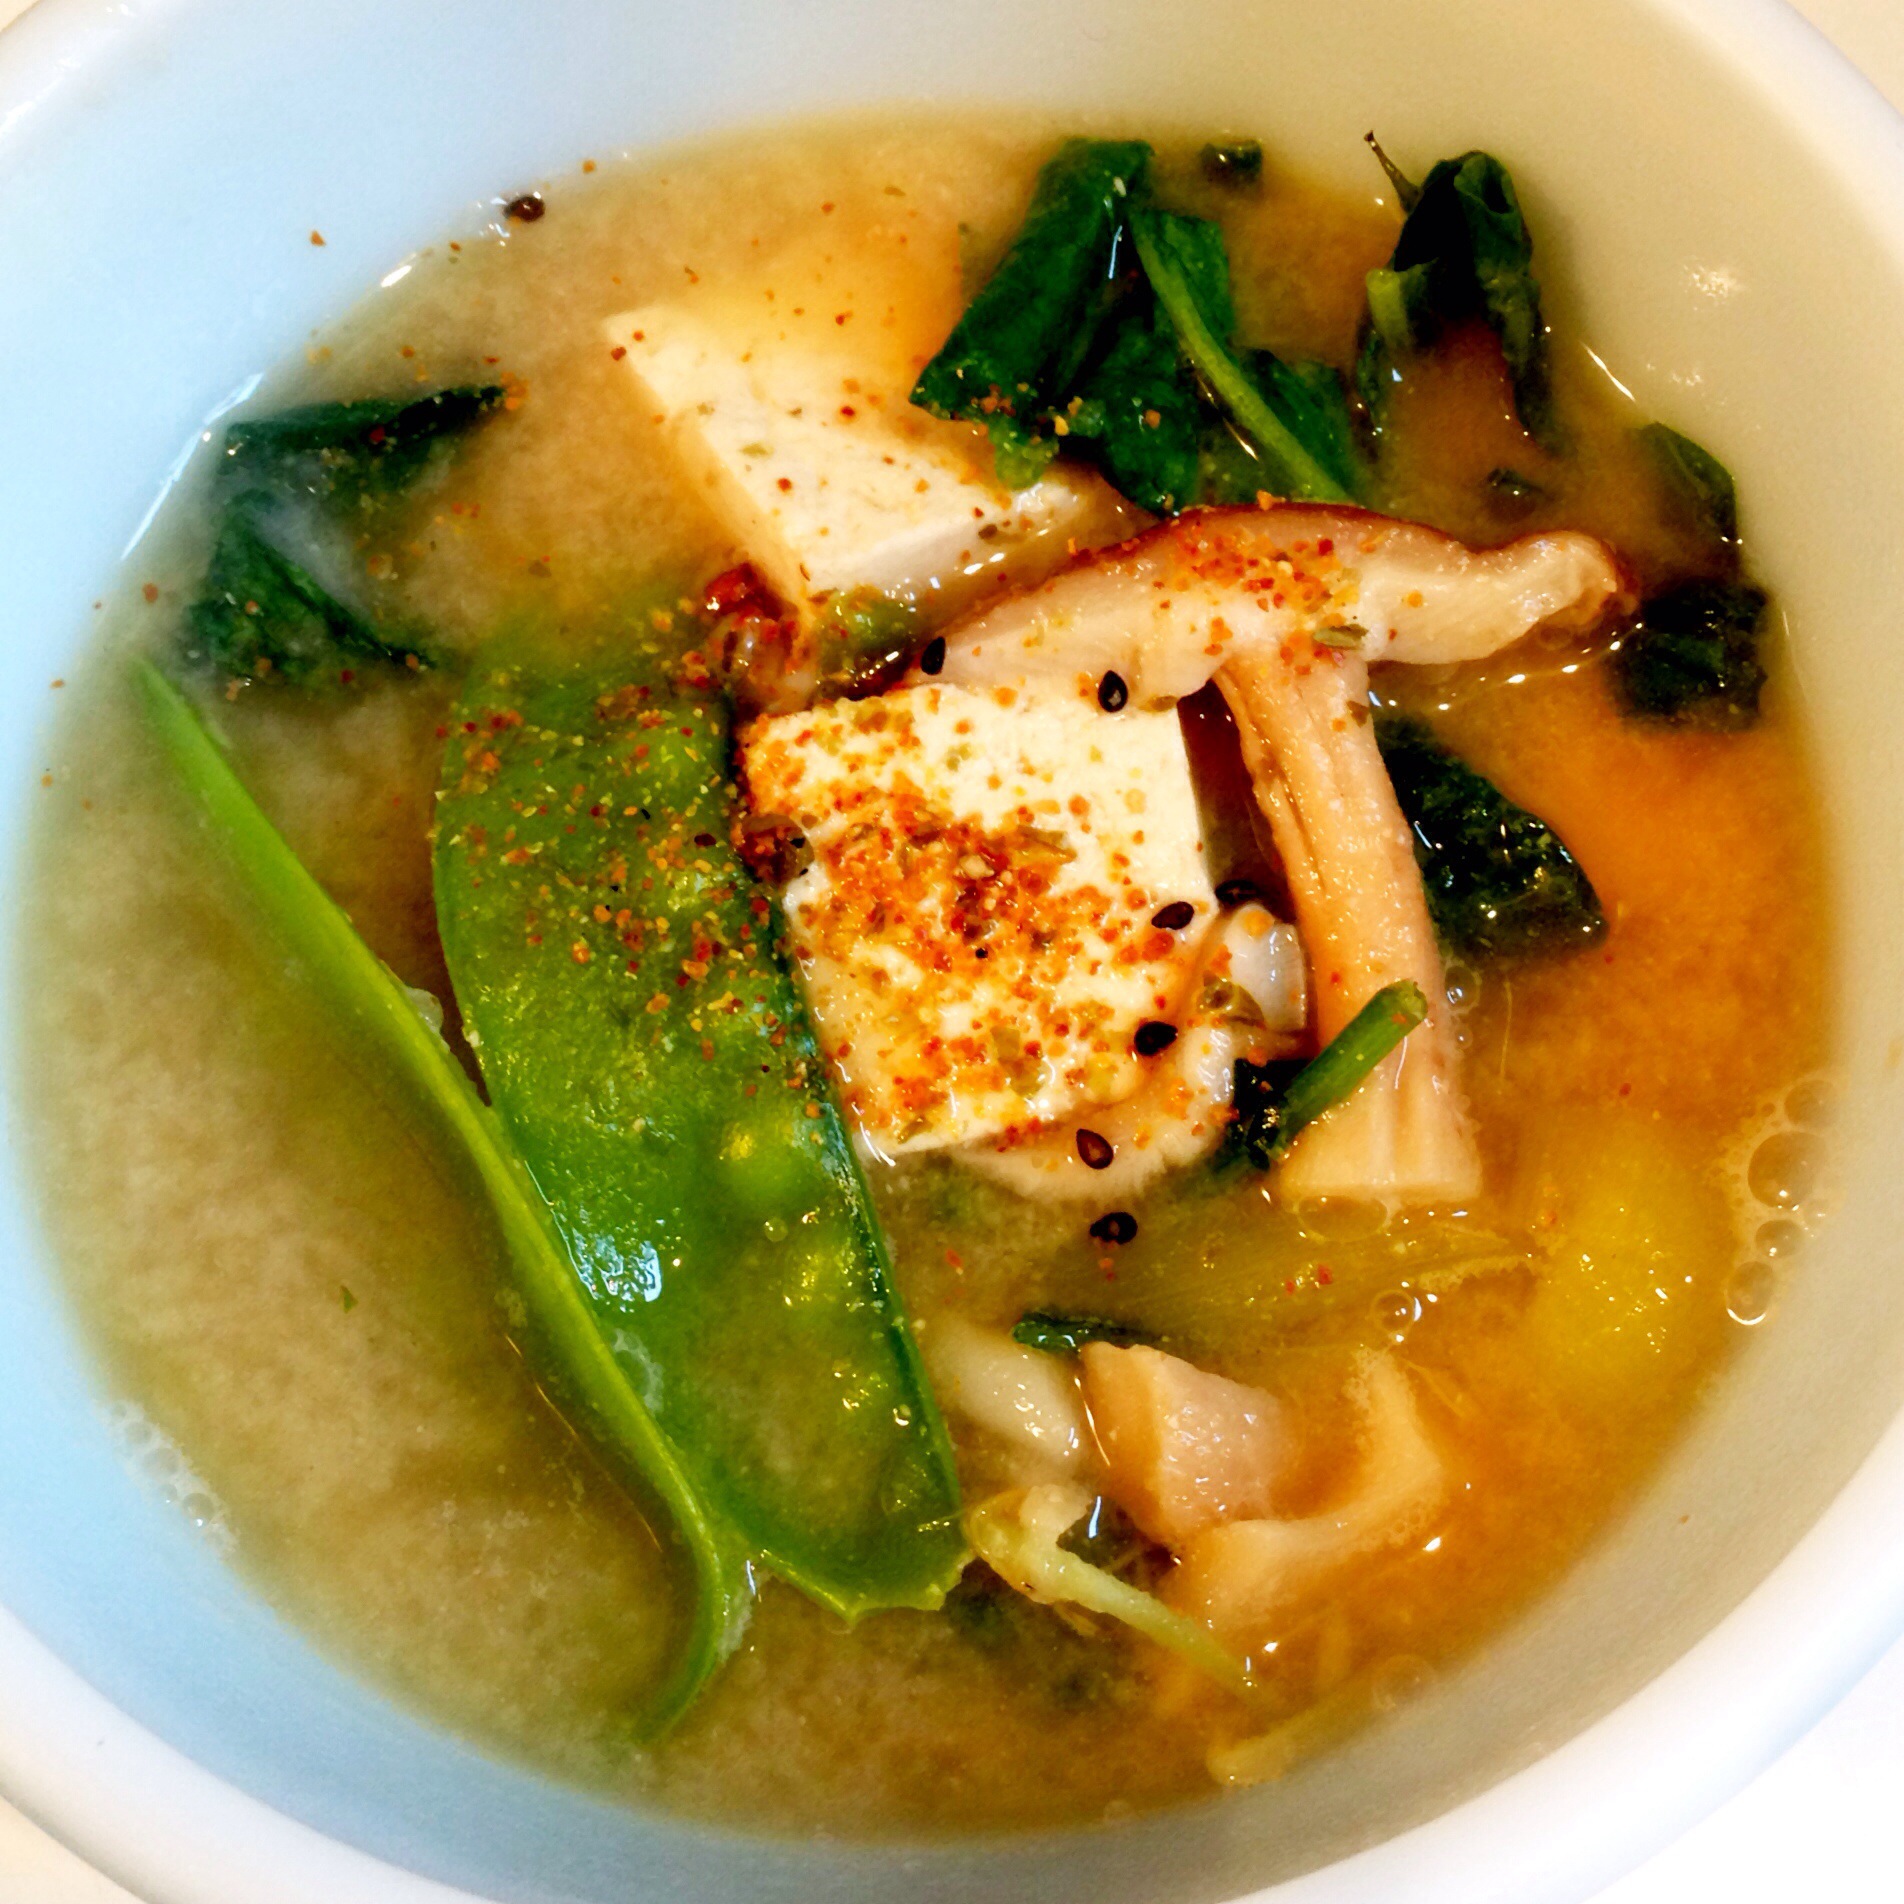
Welcome to the fourth installment of the Virtual Vegan Potluck! I’m so excited to be a part of this fun event! I hope you have enjoyed all the amazing recipes you’ve seen so far. This is my first time participating and I am honored to take my place in the lineup. This fall’s potluck has a new twist — a featured ingredient — the glorious beet! I wanted to come up with something that was a little out of the ordinary. We’ve all seen or heard of beet salads, pickled beets, brownies with beets, beet ice cream, beet soup, and the like. I wanted something a little bit different.
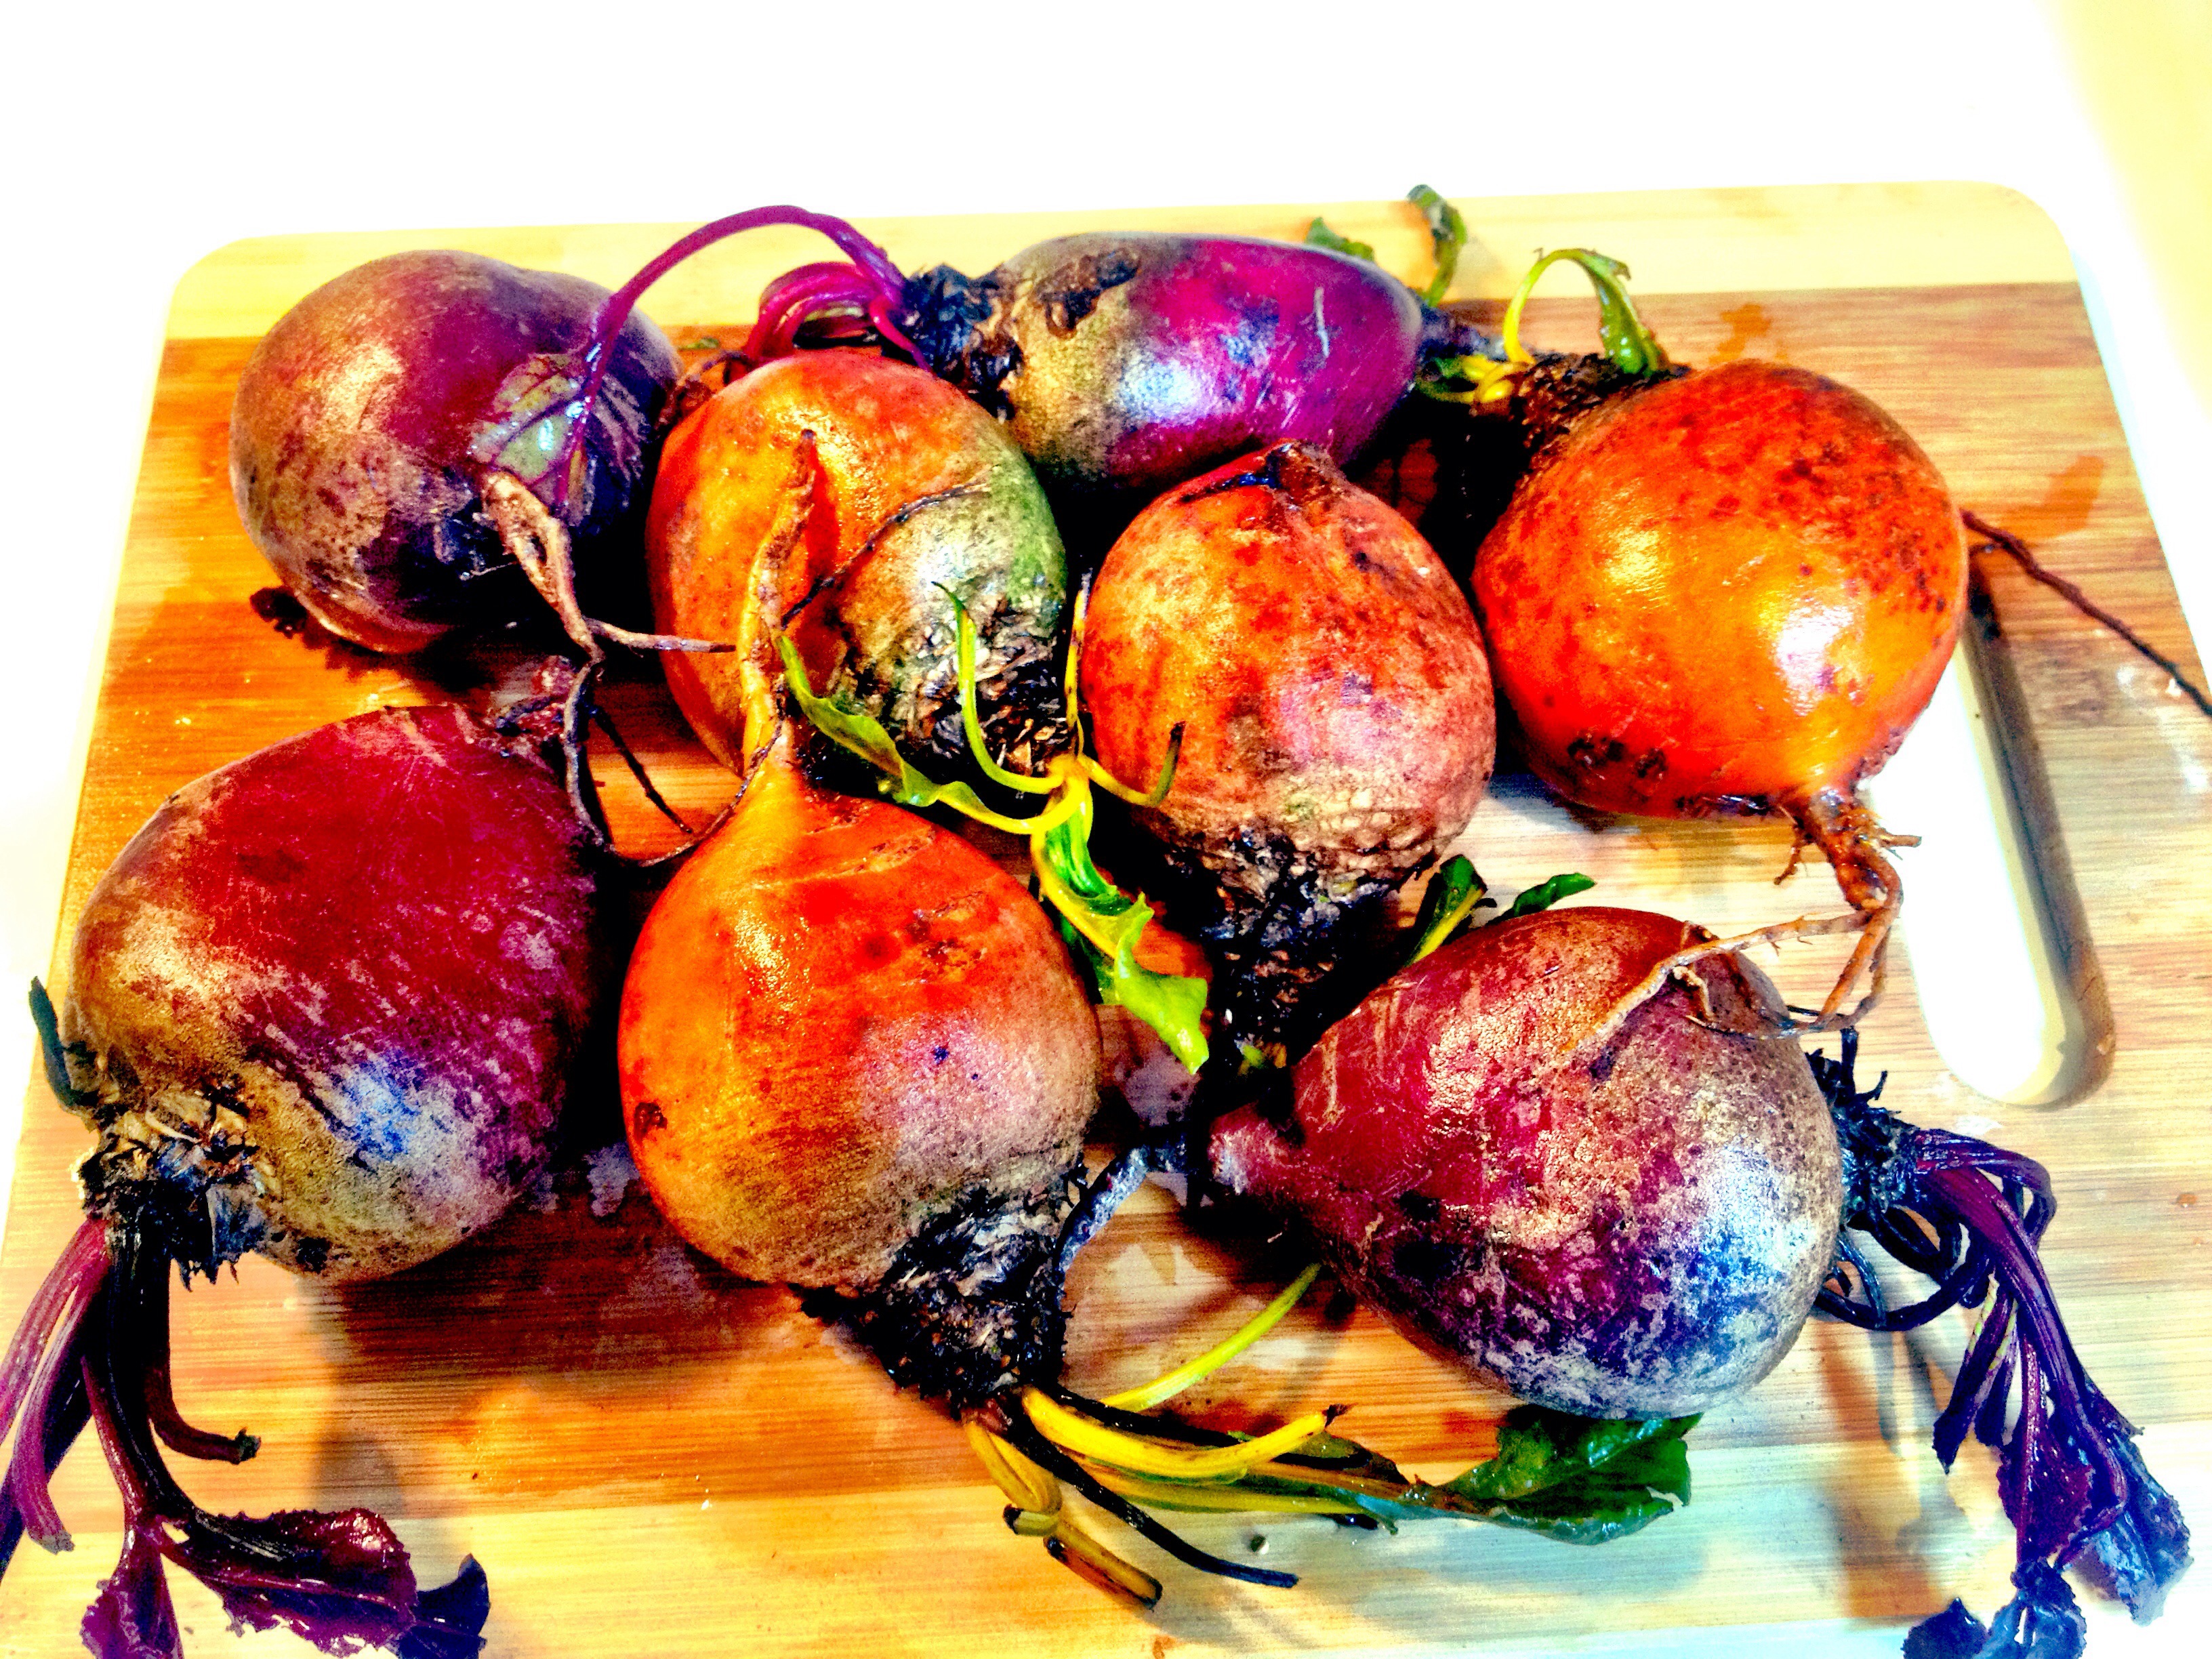
I used to despise beets. My mom would serve canned beets at dinner when I was growing up and I couldn’t stand them. I quickly learned that if I didn’t put a few on my plate, my mother would give me a huge spoonful and I would have to eat them all. It was easier to choke down a few than the giant spoonful! Once I left home for college, beets never came across my plate again until a few summers ago. My CSA boxes started arriving with bunches and bunches of beets. The first few weeks, I either gave them away to a friend, or ashamedly threw them away. It was a waste. I finally decided that I had to force myself to like them.
It turns out that fresh beets are much more flavorful than the horrible canned things. Roasted and drizzled with balsamic and maple syrup, served over greens with walnuts, dried cranberries, and avocado, I finally began to appreciate them. I found initially that I preferred golden or chiogga beets better than the standard red ones because the flavor isn’t as “beet-y” but I can now definitely eat them and actually enjoy my meal without feeling tortured!
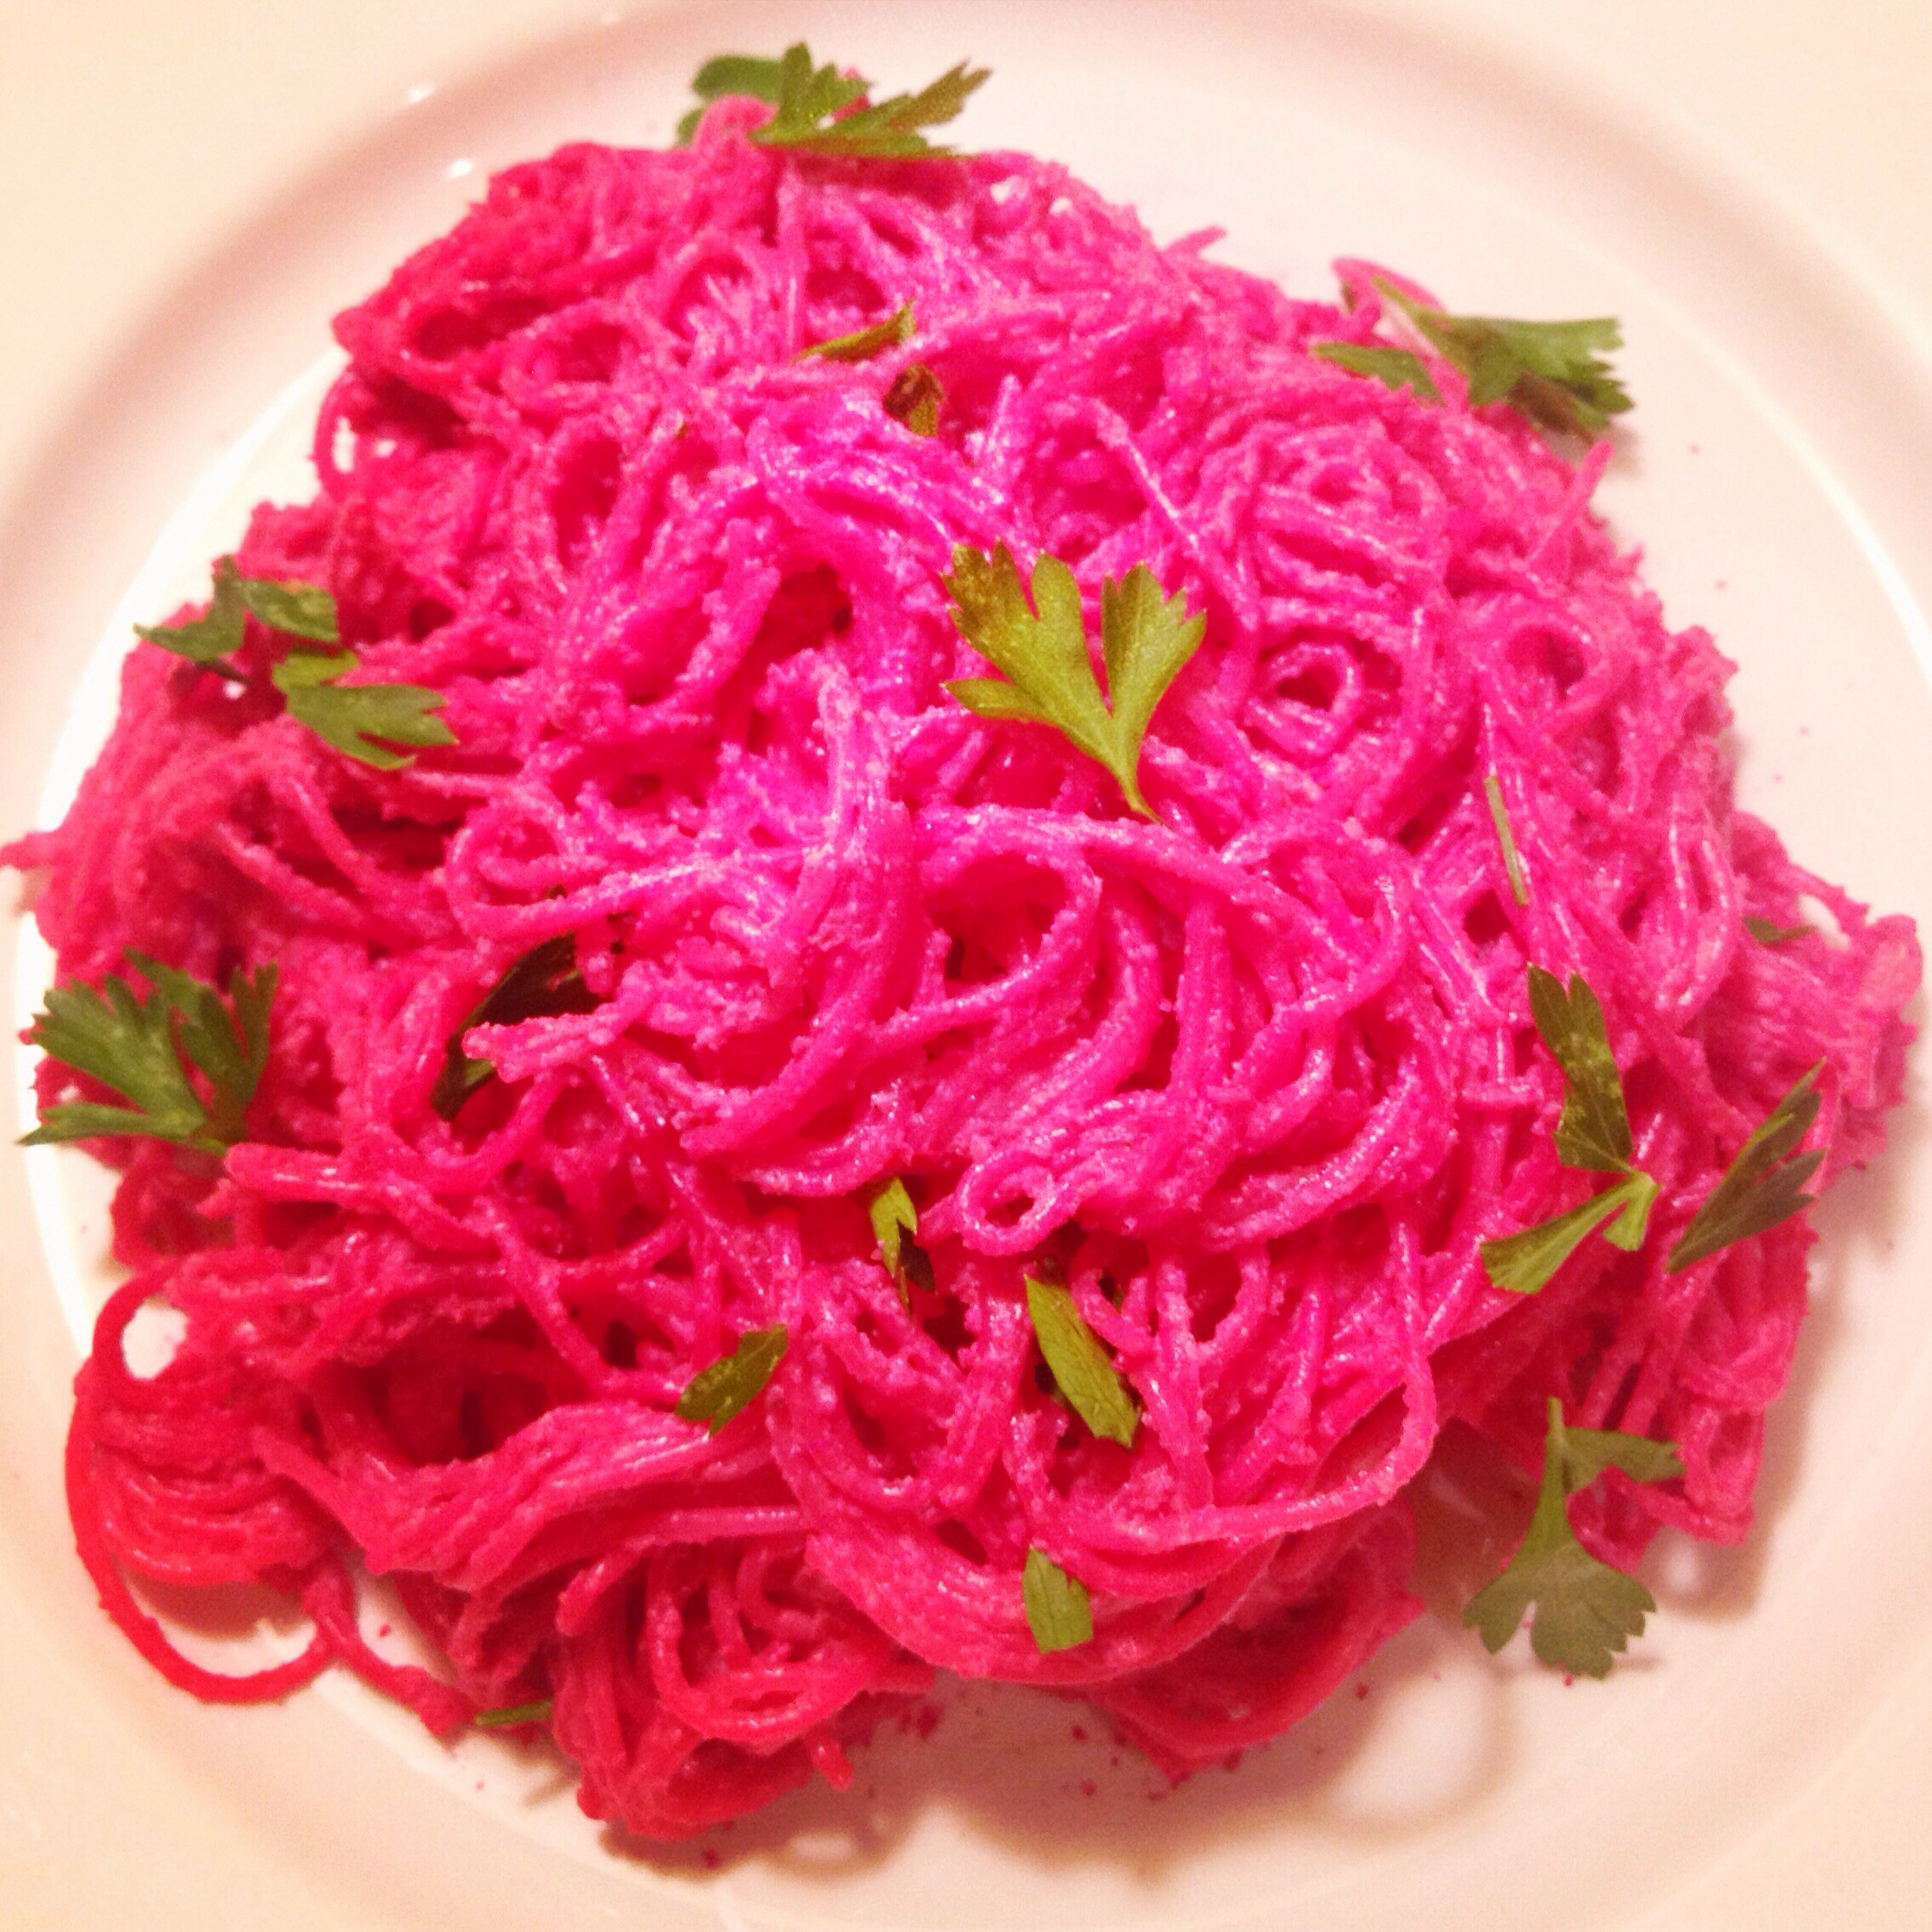
So what to make for the potluck? I initially planned to make a recipe I stumbled across in a meal plan I subscribe to on my iPad. It was for beetroot, lentil, and brown rice patties, topped with sliced tomato, sautéed mushrooms, and smashed avocado. It looked interesting, but each time I set about to make it, I never really felt inspired and ended up making other things instead. Then all of a sudden, a few weekends ago while I was blog surfing, I happened upon a picture of a bowl of vibrant pink pasta. I knew instantly that this was the start of what I would make for the potluck.
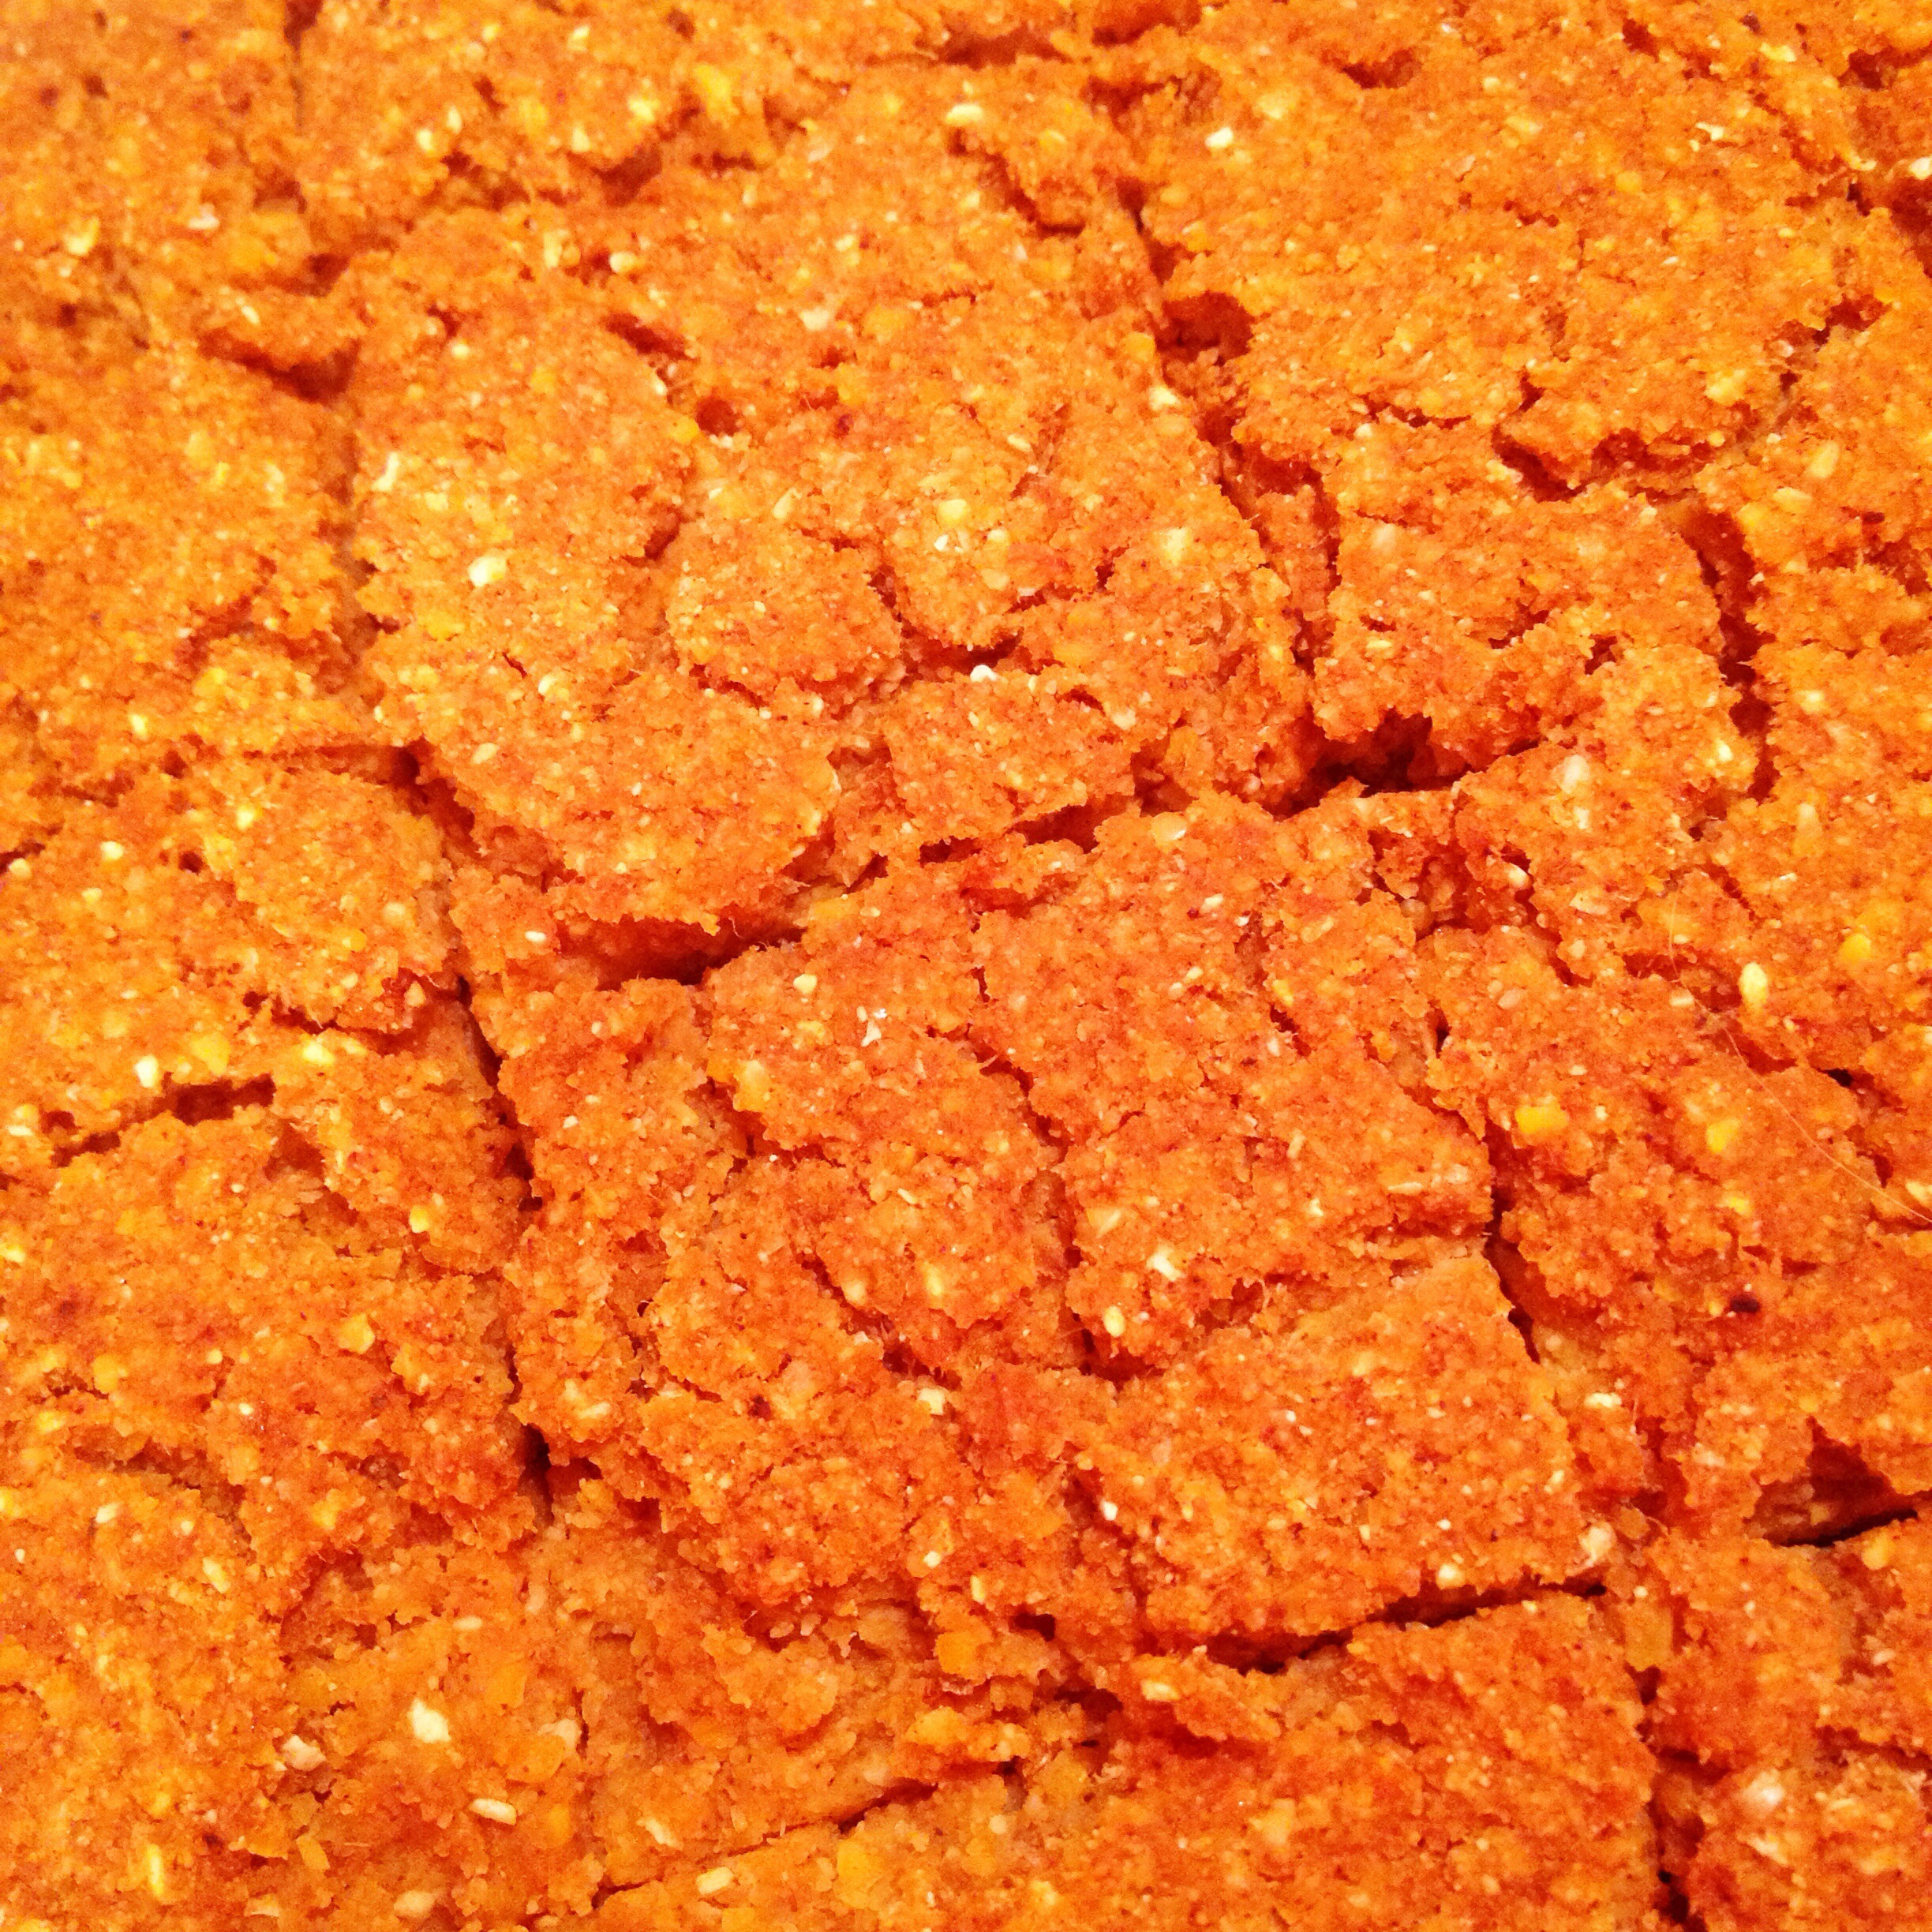
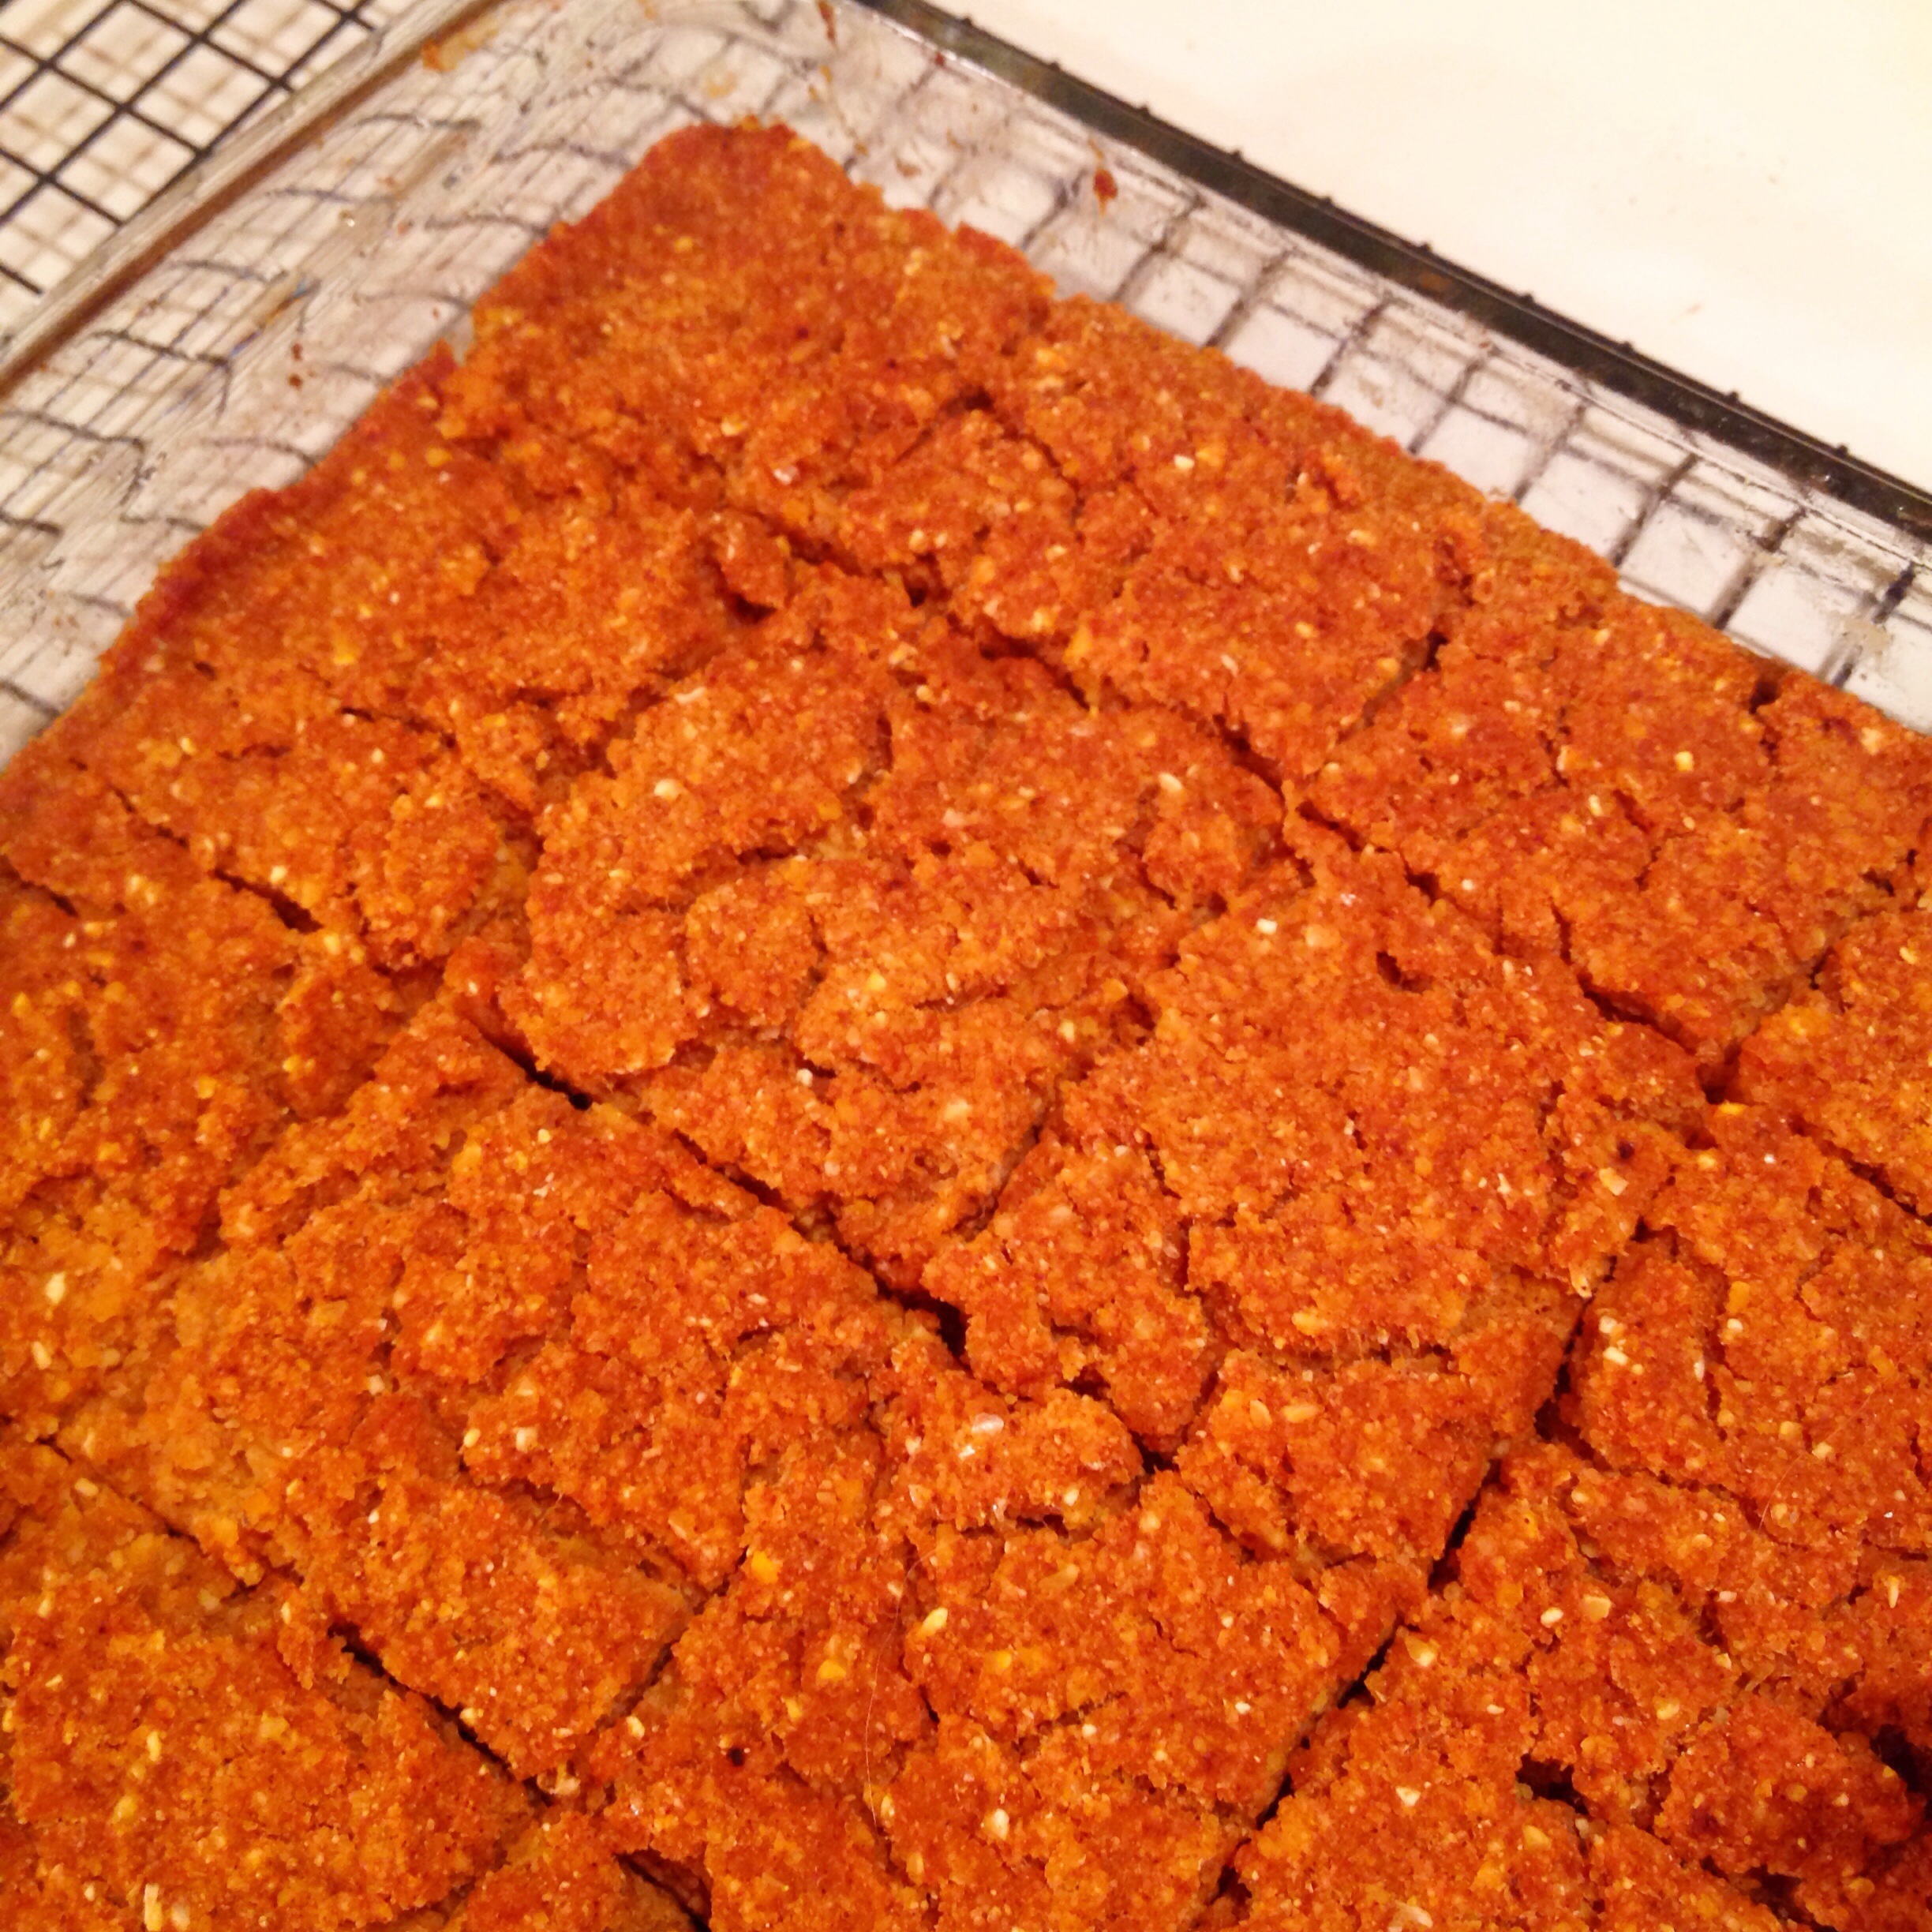
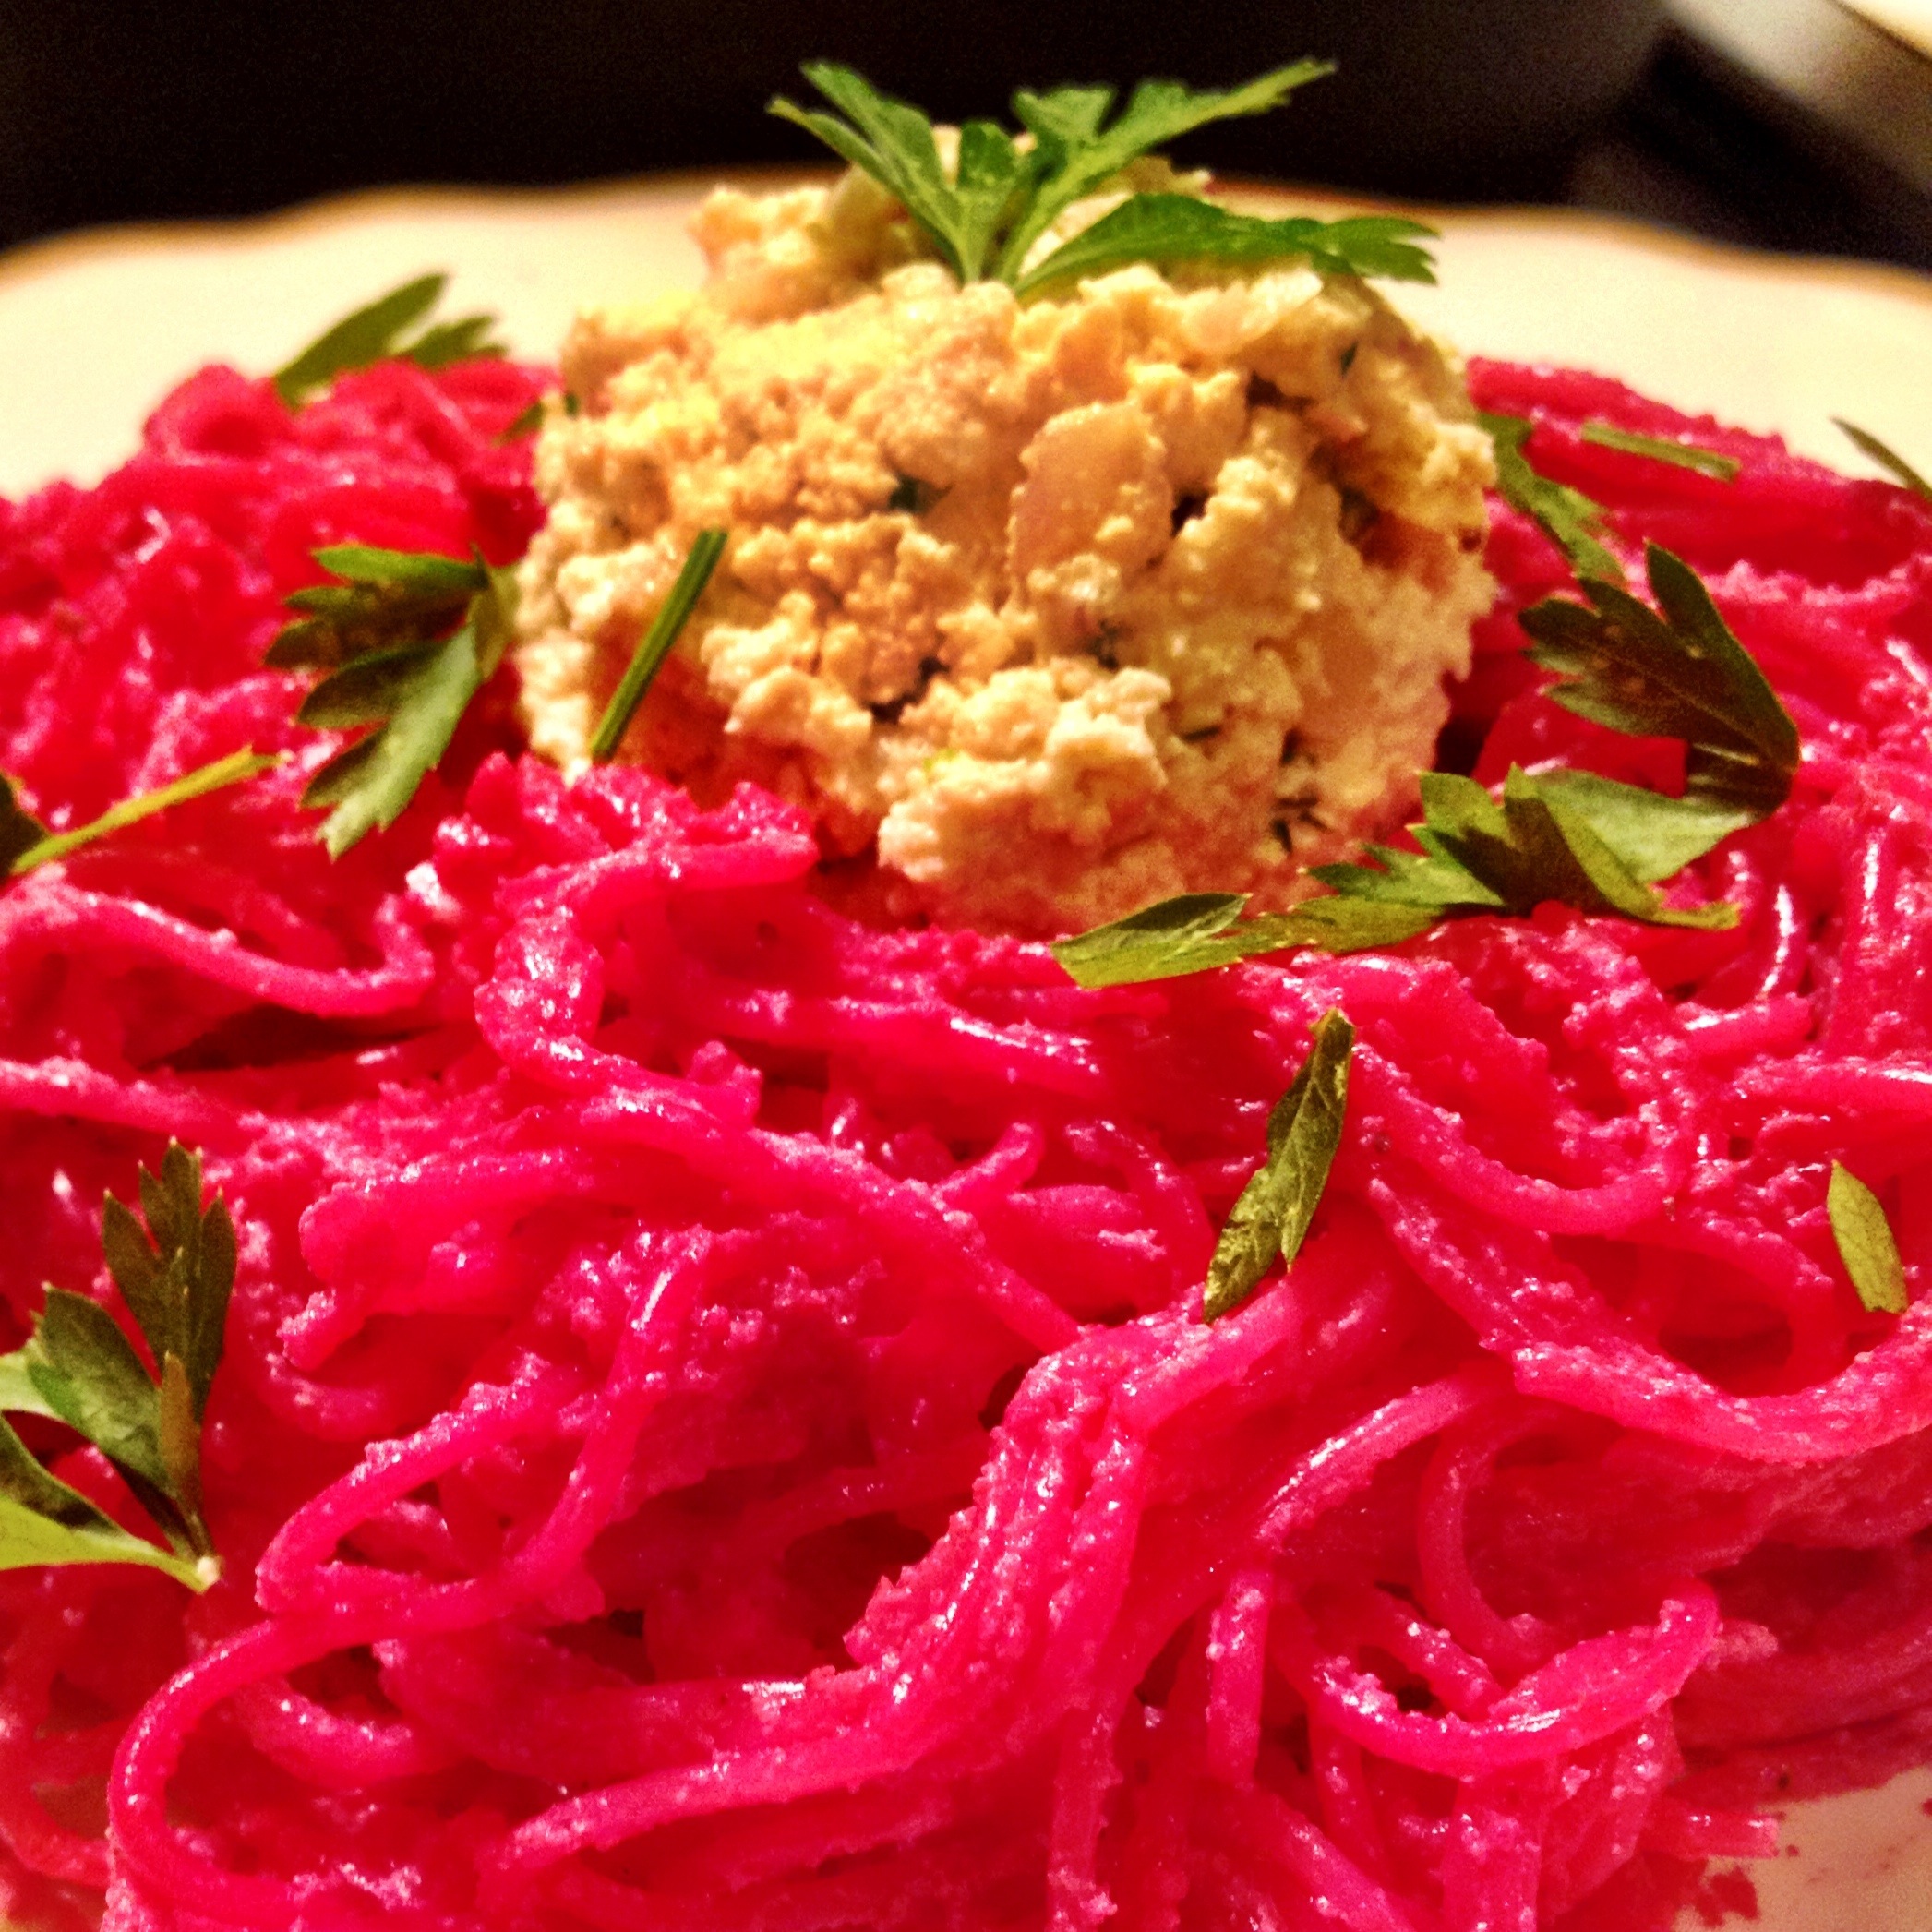
I turned to my trusty recipe file (i.e. Google) and finally settled upon this recipe for beet pesto, but I needed to find a substitute for the goat cheese. One of the many beet recipes I looked at mentioned topping the pasta with ricotta cheese so I decided to see if I could find a simple recipe for making tofu ricotta. I decided upon this recipe because I find the combination of miso and tahini so intriguing — it’s a flavorful collision of two vastly different world cuisines, two worlds that are both so integral in my food story. (This ricotta recipe, by the way, was so delicious on its own that I could have kept eating it by the spoonful. I’m anxious to see what other dishes I can come up with incorporating this ricotta).

The end result? For starters, this was not a difficult dish to make at all. The ricotta takes about five minutes to measure, chop, and mash everything up. The beets need to roast for an hour, but after that, it’s the time needed to cook the pasta, and a few minutes of food processor magic. (And making sure you don’t turn your clothes and kitchen pink in the process). For something relatively simple to make, this was crazy delicious. I was actually surprised how little beet taste there was in it — I was expecting to be smacked in the face with beet flavor, but the garlic and walnuts must have mellowed it out. It is stunning to look at — I did very little to edit these photos. That really truly is the color of the dish. It is guaranteed to make your dinner guests ooh and ahh when you place this in front of them at the table! It might even make your children eat beets without realizing it — my sister’s kids love pasta with basil pesto, so if they’re already used to green garlicky pasta, I imagine they might be inclined to try bright pink pasta, too.
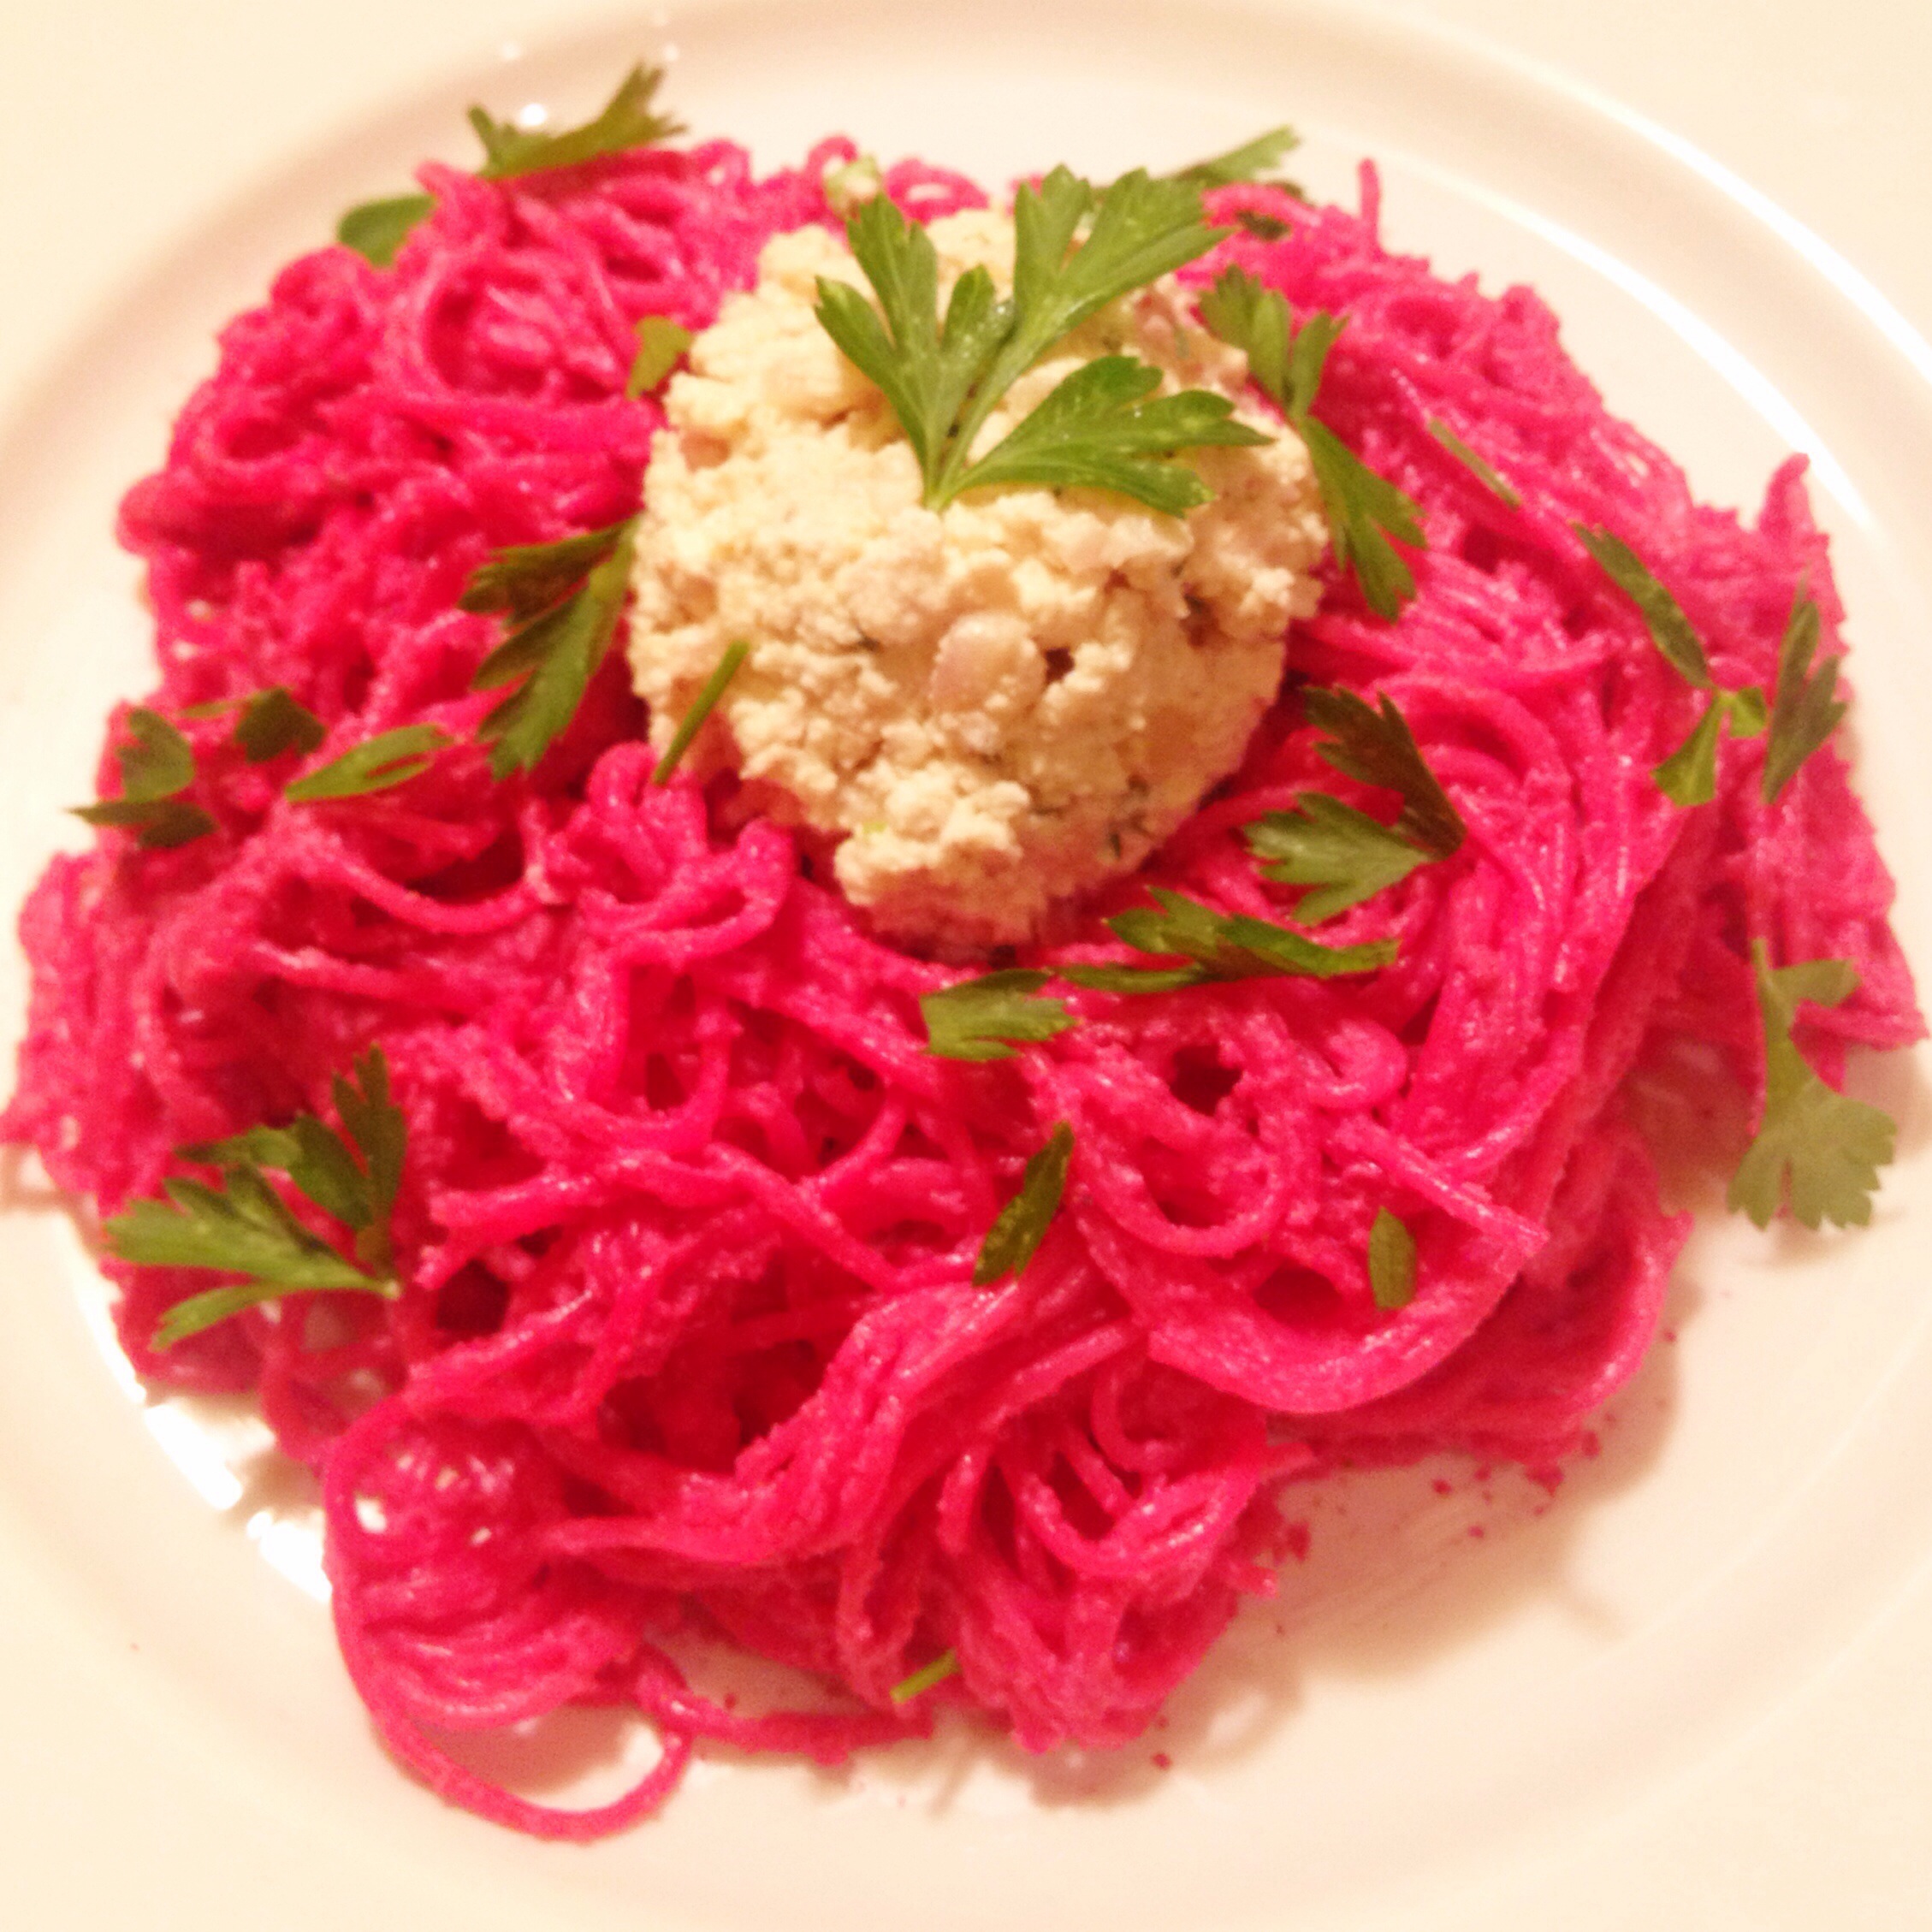
pasta with beet pesto and tofu ricotta
ingredients
for the pesto
- 3 to 4 medium-sized red beets, scrubbed clean
- 6 garlic cloves, unpeeled
- olive oil
- 1/2 cup walnuts, toasted
- salt to taste
- 1/2 cup tofu ricotta (see below)
for the tofu ricotta (makes approx. 2 cups)
- 1 block extra firm tofu (14 oz), drained and pressed
- 1 1/2 tbsp tahini
- 2 garlic cloves, minced
- 3 tbsp nutritional yeast
- a pinch of ground nutmeg
- 1 1/2 tsp miso paste
- 1 lemon, juiced
- black pepper to taste
- 1 shallot, finely diced
- 2 tbsp fresh parsley, chopped
- 1 pound pasta of choice
directions
- Preheat oven to 400˚F. Drizzle beets lightly with olive oil. Wrap the beets (individually) and garlic cloves (together) tightly with aluminum foil and place on a baking sheet. Roast 1 hour, or until tender.
- Meanwhile, make the tofu ricotta. In a medium bowl, crumble the tofu with your hands. Add the remaining ricotta ingredients to the bowl and mash with a spoon. Set aside.
- Cook the pasta according to directions. Reserve a cup of pasta water before draining pasta. Drain pasta and drizzle lightly with olive oil to keep from sticking and set aside.
- After removing beets and garlic from oven, remove foil and let cool slightly. Once cool enough to touch, use a spoon to peel skin off beets and coarsely chop. Squeeze roasted garlic out of the peel.
- In a food processor, combine roasted beets, roasted garlic, two tablespoons olive oil, and toasted walnuts. Pulse until smooth and creamy, adding reserved pasta water as needed. Add 1/2 cup tofu ricotta and pulse until combined. Season with salt to taste.
- Toss pasta and beet mixture until well combined. Top with more tofu ricotta, if desired.
I hope you have enjoyed my dish in the Virtual Vegan Potluck. Please use the image below to visit the next dish in the lineup!